You betcha!
Slips and skirts are so simple.
I am sure many of your know how to
make these.
But for those that are new to sewing
this is fast and easy.
Daisy, the little lady on the left is
sporting a half slip that only takes 5 minutes
or less to stitch up.
If you decide that you no
longer want her to wear it then it is easy to take
it off, rethread it with ribbon and drape it across a bed.
You can reuse this slip over and over again.
You can also make a skirt with these same directions.
Remember all of this lace that I am showing you
is being recycled from a baby dress.
Below I show
you 2 slips.
Next week, I will show you how to make Anna's
slip.

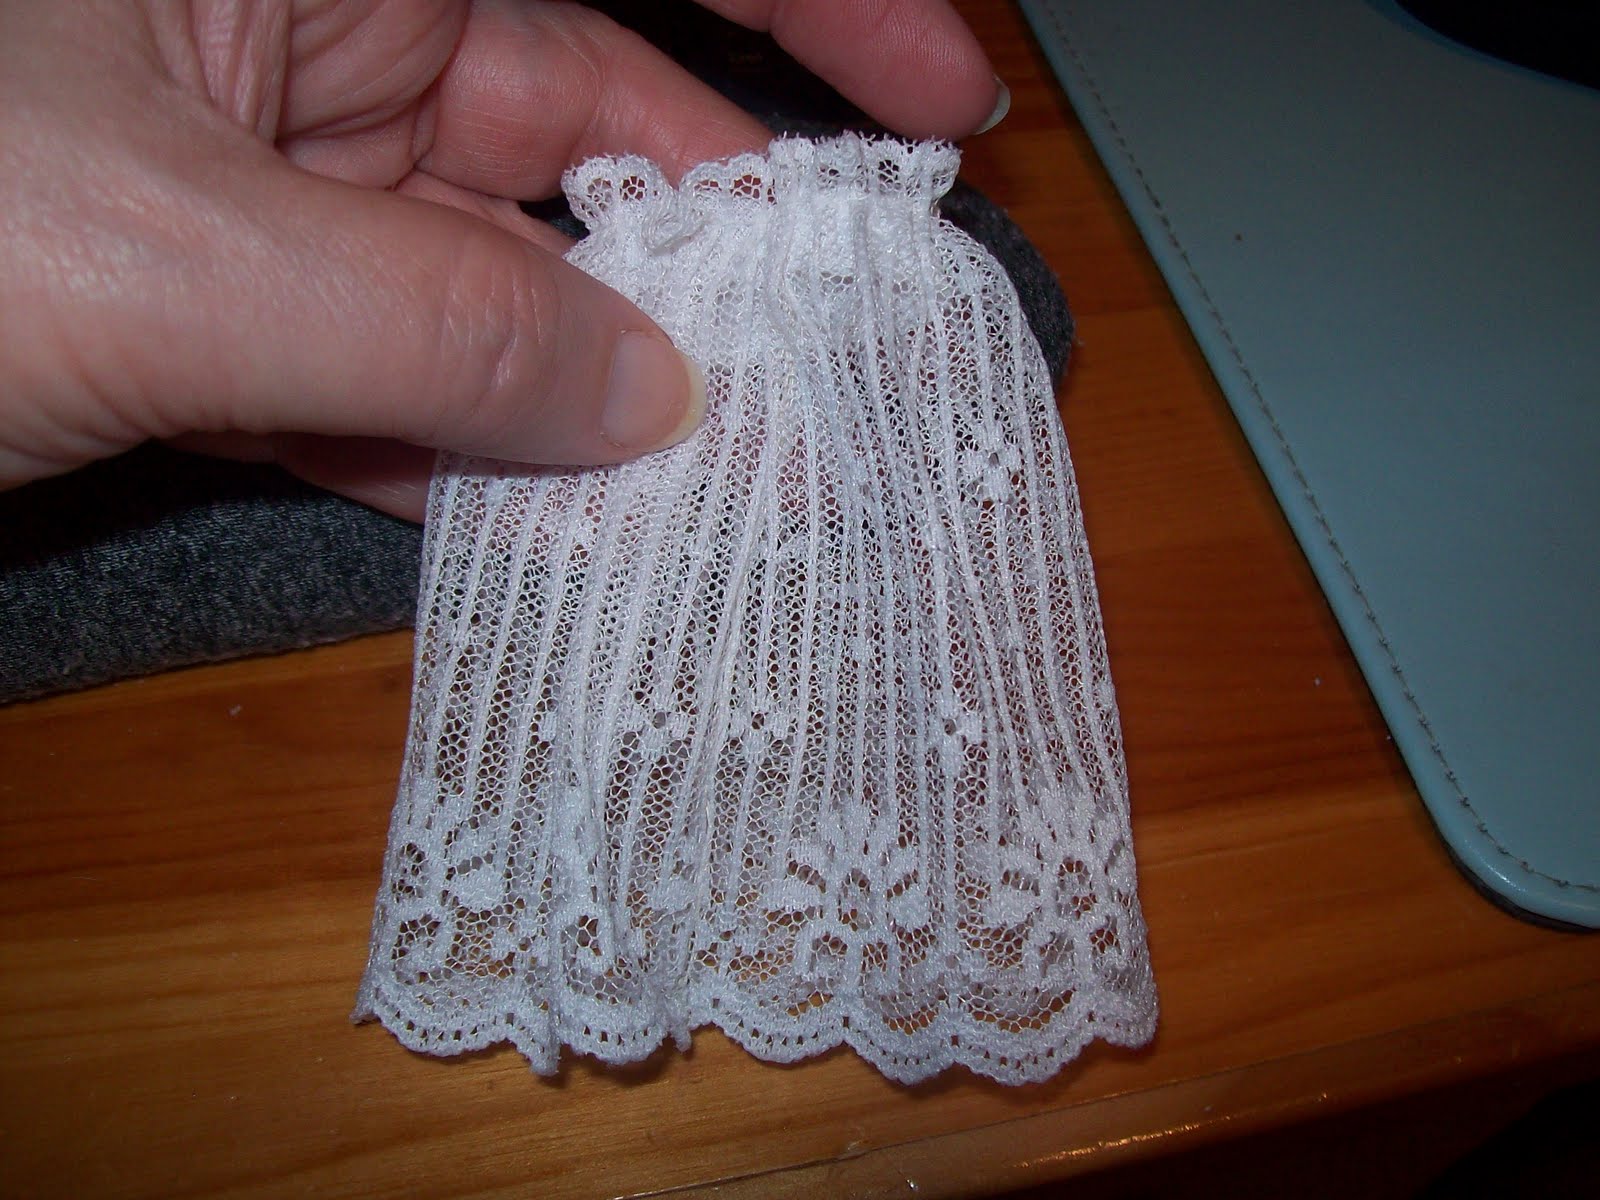
Here is Daisy.
Material needed are about 4 inches of ruffled
lace according to the thickness of the doll.
Daisy is thin.
Daisy is thin.
The lace is about 3.5 to 4 inches long from
the tip of the ruffle to its edge.
Also needed is a
Also needed is a
sewing needle with thread.
Most of the time I sew these little things with
candle wicking thread or crochet thread.

My lace is cut from the dress so yours will not look
like this - that is if you buy your lace outright from
the store.

I have to cut off the excess cotton. See - here I cut it
off very close to the lace.
Be careful not to cut the lace!
Be careful not to cut the lace!
When you finish throw that little piece of cotton away.

Turn your lace to the wrong side & be sure to match
up the bottom with the top.
Start stitching at the top of
Start stitching at the top of
the ruffle and sew down towards the bottom.

My stitches aren't that small but neither are they
that big.

For added strength ,I always sew back up
to where I start.
to where I start.
It also finishes it off better.
That way you
That way you
don't see a knot hanging from the bottom.

Once you get back to the top - knot it off and cut off
your threads.

Cut off any excess lace from your seams. That is
if you have any.

Then turn the lace skirt right side out.

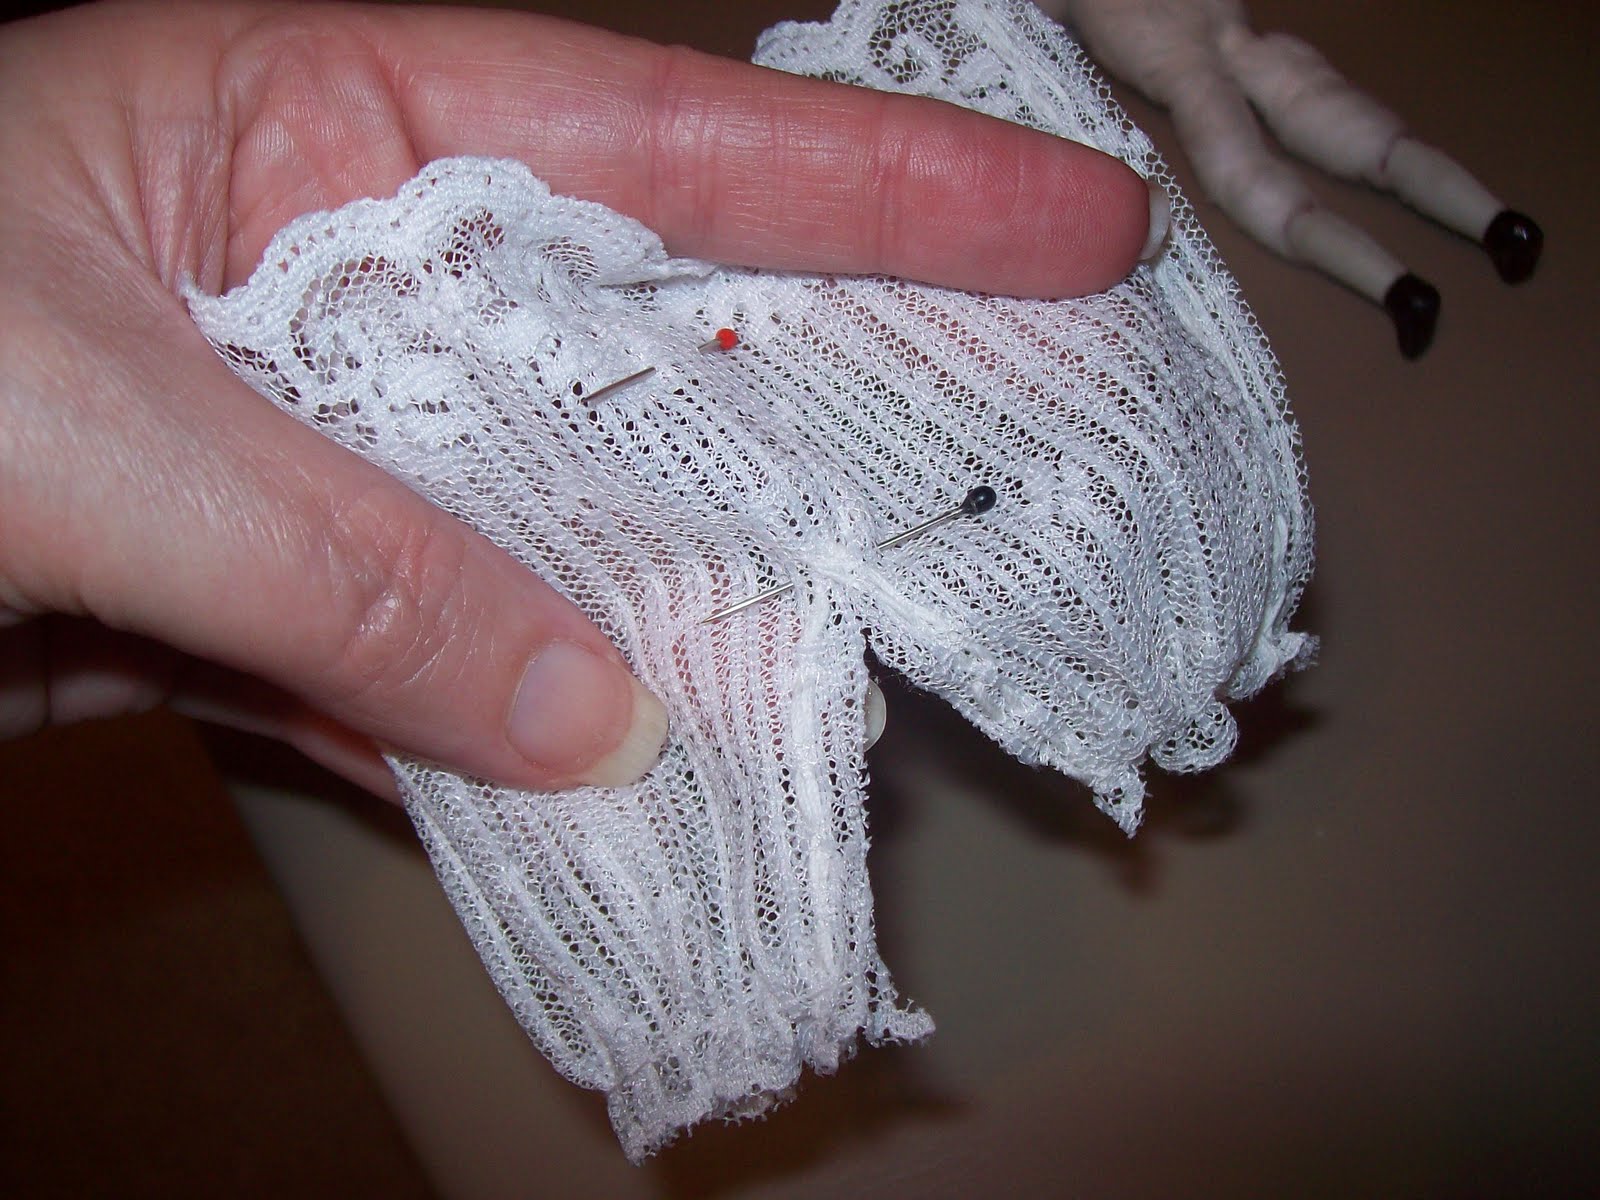
This is the back of the slip.
With your threaded needle
With your threaded needle
start sewing close to this seam.
Do not sew the top of
Do not sew the top of
the ruffle.
Continue sewing all around the top of the slip.

When you get close to the seam as I have done here
then cut off the needle and knot it.
Both sides of the thread is knotted.
Both sides of the thread is knotted.

Put the slip on the doll with the threads towards
the back.
At this point do not gather the threads up.
At this point do not gather the threads up.
First, make the first tie and use this tie to gather
the lace - then make your knot.

Either make a bow or let the threads hang
down.
Or cut the threads.
Or cut the threads.
All Finished!

Thanks for stopping by!
Conny