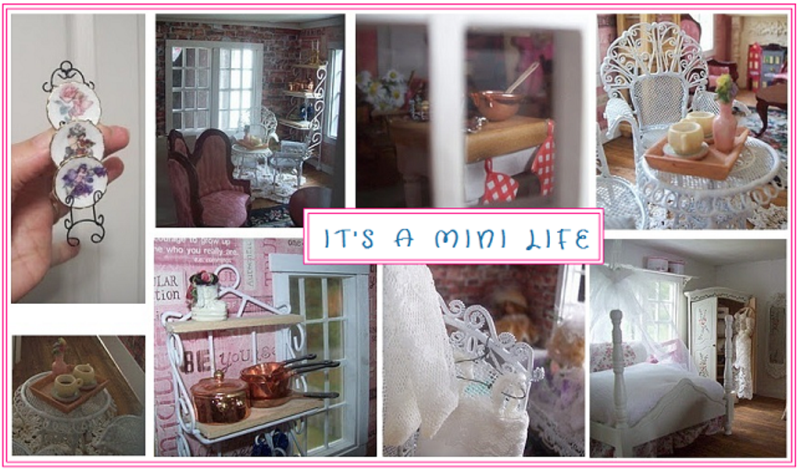
MAKE A SHABBY CHIC VANITY
FROM A
IDEAL PRINCESS PETITE VANITY
FOR YOUR MINI DOLL
Thank you to my new followers.
FROM A
IDEAL PRINCESS PETITE VANITY
FOR YOUR MINI DOLL
Thank you to my new followers.
I hope you find my ideas from my blog
helpful and easy to use.
helpful and easy to use.
Thank you all for the lovely comments
that you have left me.
You are all so sweet!!
You are all so sweet!!
Please bear with me as I have been sick again.
I thought that all was finished with shots but apparently not!
However I am still feeling
sickly with nausea and headache!
But still I have managed
But still I have managed
to finish this vanity that I wanted to show you.
This is the 2nd vanity that I have made with
one of these Ideal Petit Princess Vanity's.
The First one being for the witch Permelia.
When looking for one of these to buy
look for ones with a good mirror!
When I started doing this, these
vanity's were cheap. The price has
gone up some since this posting.
Shabby Chic can be
all white, an off-white, ruffles or colors
or tattered, torn or aged. It is up to you.
all white, an off-white, ruffles or colors
or tattered, torn or aged. It is up to you.
As you can
see I have another apartment building
and this apartment will be
and this apartment will be
on the top floor.
I will show you the
I will show you the
new building in another posting.
I am looking for colors other than white to mix with the
clean white walls.
I need some perfumes and other
I need some perfumes and other
stuff to go on top of the vanity so I am looking to see
what I might have that will work.
This is the front.
This is the front.

Sometimes ago I bought from the thrift
shop a pair
shop a pair
of baby shorts that had sewn
fabric pieces into a
fabric pieces into a
shabby look. I feel in love with the muted colors.
However, the shorts were tiny and so there was not
much fabric to work with.
The little fabric I have left
The little fabric I have left
I want to make a stool cover and make for a top for
the bed cover.
So as you can see I stopped at the back
So as you can see I stopped at the back
but it does not matter - this piece will be to the back of the
wall.
This is what the back of mine looks like.
I ran out of fabric.
It is okay cause the back will be against the wall.
I just might add a strip of another fabric to hide
the white.
This is what the back of mine looks like.
I ran out of fabric.
It is okay cause the back will be against the wall.
I just might add a strip of another fabric to hide
the white.

What to do first - is to strip off
the bad smelly skirt and toss it!
They can be ugly, smelly, or holy.
Wash the pieces if they are dirty.
Remove the mirror and I peeled
off the strip of plastic that was on the
top of the vanity cause mine was
in bad shape. It showed glue too.
Peeling that off of yours, is up to you.
I do not want this vanity to look old.
I painted the mirror frame
white and that took several coats
to get the whiteness that I wanted.
This picture below shows you what the vanity
top looks like after I peeled off that
plastic. The glue kind of looks good and I
contemplated keeping it like that,
but in the end I opted to paint it.
The vanity top took up to 10 coats of white
top looks like after I peeled off that
plastic. The glue kind of looks good and I
contemplated keeping it like that,
but in the end I opted to paint it.
The vanity top took up to 10 coats of white
to hide the glue.
The top is very shiny now, much more to my liking!
Do not bother painting the legs.
The top is very shiny now, much more to my liking!
Do not bother painting the legs.

Paint the back of the mirror frame like the front.

Next, I dapped some pale pink paint
on a paper towel, wiped it on the mirror
frame and wiped off the excess.
on a paper towel, wiped it on the mirror
frame and wiped off the excess.
After that had dried, I started on the vanity.
I cut corrugated cardboard
(sizes are shown below), to the height
that I wanted.
(SEE THE DIRECTIONS BELOW FOR THE CARDBOARD)
(USEGOOD STURDY CORRUGATED CARDBOARD)
that I wanted.
(SEE THE DIRECTIONS BELOW FOR THE CARDBOARD)
(USEGOOD STURDY CORRUGATED CARDBOARD)
Then painted the cardboard white with 2 coats
as shown below.
as shown below.
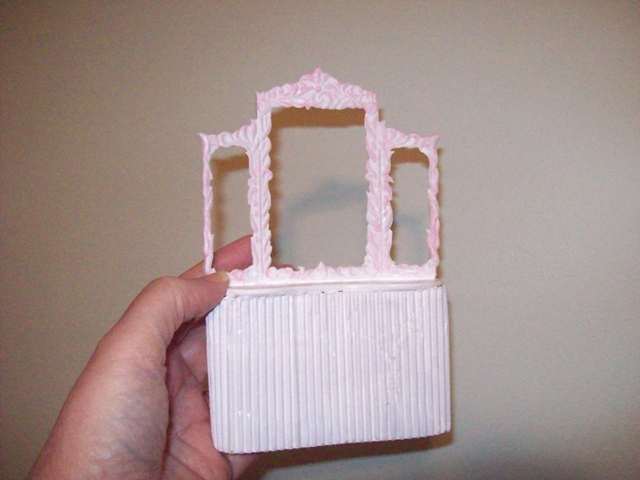
This is the back and I also painted it
with 2 coats of white paint.
It kind of looks nice just like this!
You can glue lace on over this corrugated cardboard
for a different effect and it will look pretty.
My next one might be lacy!

Once I made the cardboard tube
I slipped the legs of the vanity inside of
the cardboard and glued the cardboard
to the edge of the vanity.
The legs help to stabilize the vanity so
leave them in there.
This is what it should look like with the legs inside.
This is what it should look like with the legs inside.

You can see my measurement
written on the inside of the cardboard.
This is the measurement that I used for the width.
You can go smaller but I would not recommend going
any higher than 2.5 inches in height.

For the circumference of the cardboard
tube - you will have to measure it,
but it should be about 10 inches.
You will need some cardboard to overlap
so you can glue it together as you
see I have done already.
so you can glue it together as you
see I have done already.

This is all there was to making these vanity
useful for our miniature dollhouse dolls.
I still have to make a stool to match because
I never got the matching Petit Princess stool.
Hope you decide to try this!
Thank you for visiting me!
Hopblogger


