Hello Yawl.
Hope everyone is well. I cannot believe
the lovely weather we are having today.
It is gorgeous out there!!!
Thank you for your sweet comments. All are
appreciated.
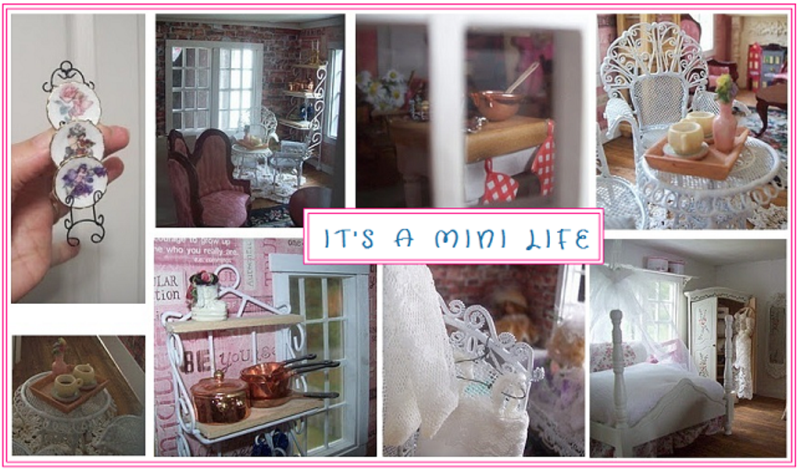
I thought I would show you what I have done so far.
This kitchen area is tiny and that works well for this
apartment. There is no room for extra's here. The lady
of this apartment only buys what she needs. No stove.
No doubt that she microwaves all of her food on her
lovely red microwave. The landlady decided to get
her a new one especially since the other went bad.
I still need to hang up an apron on the blue tile.
So far so good!

I thought that I would show you the sink area with
a few more items. Still nothing is in the refrigerator.
And I still have not found what I want to go on the
little shelf on the left or below that shelf.

The top area show the dishes in the dish drainer
and part of the pink sponge in the sink. There are
3 of those Bingo Chips used for plates that I told
you about (maybe a year or 2 ago). Wow time sure
does fly by!

Ooooo - I bet you thought that the bathroom was
going beside the kitchen. Well the truth is, that
I could not get the bathroom to fit there!
The bathroom is going to be little but everything
will fit in. I also made a paper pattern and cut
some baby pink flannel to fit over the white floor.
I felt the white floor did not look good among
all of the light blue and white tile. It really
needed a carpeted.

I wanted a pretty rug to go on top, but at the
last minute I decided the rug that should go
there is one that I made over 16 years ago.
Let me tell you how I made this rug.
This is not
my idea, it came from a miniature book that I
checked out of the library way back there in Oklahoma.
So I cannot take any credit for this tutorial. I only
hope that I have not left out a step. Also a shame that
I can not even remember the name of the book!
I would love to make a few more
of these rugs in bigger sizes.
These rugs have a sweetness to them.
I made a total of 3 rugs back then with different
designs on them. One of the rugs do not even
have a backing.
Anyway I used colored pens of pink, blue,
and green to make this rug.
Have a plan of what
design you want before you start and it would help
to color out something on paper first. I think that
this is the design in the book, but I could be wrong.
The rug does not look bad for being made over 16
years ago, does it?
Anyway this rug is only squiggly lines and dots.
YES, JUST DOTS on a piece of white
felt, flannel or anything that you want to use.
The fabric I used is very soft.
It does not feel like scratchy felt.
You know what - I remember that I used a piece of
white FIRM quilt batting.
Anyway, the little rug is so soft to the touch.
Still when I look at it today, it looks like little flowers!
Perhaps some of the little rug is faded around
the edges, however a lot of
the colors are still vibrant and bright. There is not
any yellowing on the top of this rug either.

This is the whole rug.

After the design was made. I ironed on a cotton
backing. Then I took a piece of white cotton that would
ravel really good to use as fringe. I cut a long piece
(longer than both sides of the rug) and fringed it.
The reason you want to cut
a piece longer than both sides is because you do
not want to accidentally cut the fringe too short.
Then I just glued one piece to the back of the rug,
cut the fringe to size and then glue to the other side.
Cut off the excess fringe and there you have it.
Yellowing is a sign of age with the glue.

I hope you have enjoyed this update.
Thank you for visiting me!
Hopblogger